The Map Maker
The map maker is split in two parts. The map on the left, and a work area on the right.
![]()
The map
The map is similar to what you see in GeoGuessr. It has a few additional features.
Selecting locations
New locations point along the road by default, instead of always pointing straight north. It picks whichever direction Google provides first, so it can be pointing north, south, or anywhere depending on the panorama, but always along the road. Usually this gives you a much better starting point.
When you click a road, the map maker will try to prefer official Google coverage over unofficial user-uploaded coverage. If both exist in the same spot, the location you selected will automatically become a "pano ID" location. A pano ID location will always show the exact image you selected, even if newer coverage was uploaded at the same coordinates.
When you hover your mouse over a road, you will see a small preview in the bottom left. It shows what you would see in street view (pointed along the road), and the date of the coverage. This is mostly meant so you can check if a road has Gen 1 coverage without clicking it, but you can of course use it in any way you like.
All the above features can be disabled in "Map settings".
Coverage lines
The blue lines on the map indicate street view coverage.
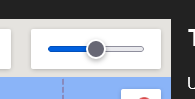
Since coverage lines appear on top of roads, they sometimes obscure road names, or even city names if you're more zoomed out. You can use the slider in the top right to make the lines more or less transparent, or even invisible.
In the top left of the map is the Map Type menu, housing settings for the map style and coverage lines. Hover or click it to open it.

By default Google shows lines for all types of coverage, including user-uploaded images, photospheres, and trekkers. You can select the type of coverage you want to see: official (car coverage and trekkers), unofficial (user-uploaded), or all.
| All | Official | Unofficial |
|---|---|---|
 |  |  |
Blue isn't always the clearest colour for the lines, especially with different map styles. If necessary, use the swatch below the coverage dropdown to change the colour of the lines.
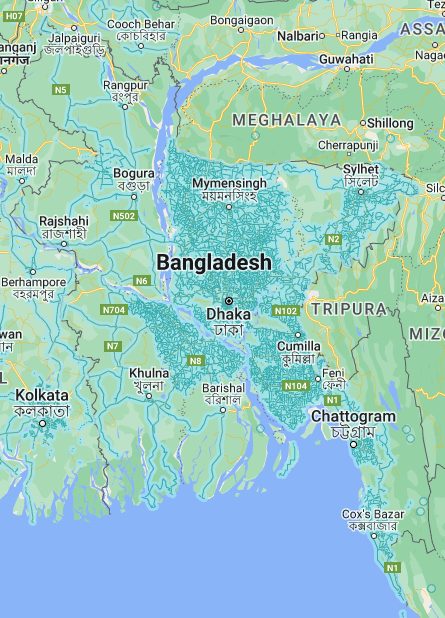
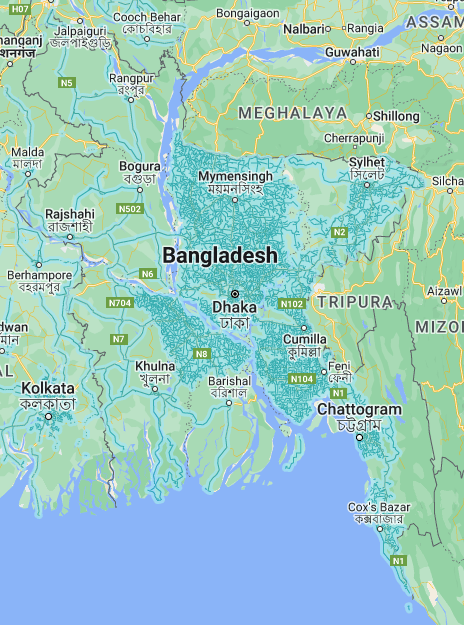
The default coverage lines are quite prominent so you can see where the coverage is. If you are working in a smaller area you can make the lines thinner to more easily see the underlying features like roads and POIs.
| Normal | Higher resolution |
|---|---|
 |  |
Measurements
You can make measurements directly on the map. This is most useful for maps that are intended to be 5Kable with moving. You can draw paths with many points, so you can measure how far of a drive it is from one location to an area with information, to see if that is acceptable for your map. You can also just use it to check that you're not placing many locations too close together.
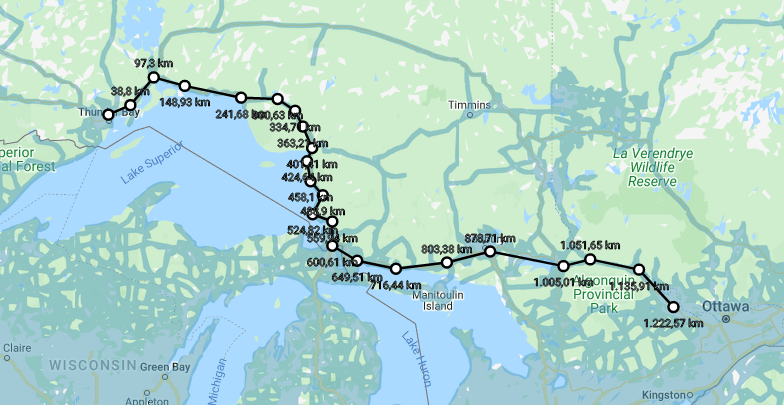
Right-click the map and click "Start measurement" to start a measurement. Then click the map to add a new point to your measurement path. You can drag points to move them, or click points to delete them from the path. If you're measuring a road length, you can start by clicking the start and end, and then add new points in the middle of the path by clicking on the line between points to measure details like turns.
While making a measurement, the map is not interactive. To add or select locations again, right-click the map and click "Clear measurement".
![]()
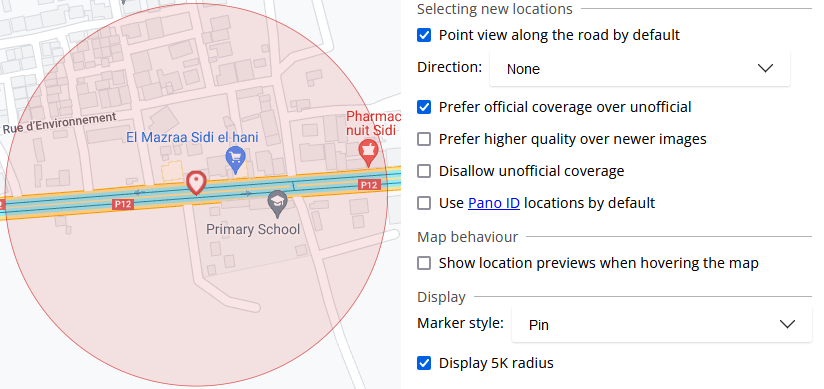
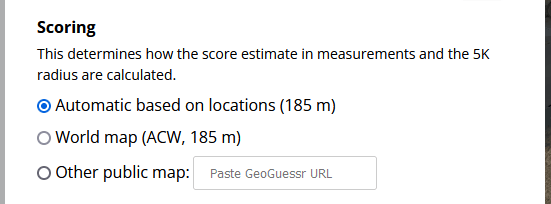
5K Circle
A common use for measuring is to check if a location is within the maximum distance for a 5K score from a pinpointable feature on the map. The app can display a radius around the selected location showing where players can guess to get a perfect score. Select "Display 5K Circle" in the map settings:
The range is calculated based on the locations in the map. Community map projects often have individuals working on smaller maps that become part of one big map. In that case you'd want the 5K circle to indicate the distance for the whole map: not just your part of it. You can change the range used in the settings for the map, using the pencil icon at the top of the screen.
Latitude/longitude Anchor
When an anchor is set, map-making.app draws latitude and longitude lines coming from the anchor. This is mainly used for Equilibre, a custom challenge style common in the La Ligue community. The lines are used as reference to place multiple locations at the exact same latitude or longitude across the world.
To set or clear an anchor, right-click the map where you want the anchor to be. Only one anchor can be set at a time.
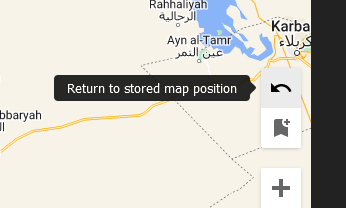
Store Viewport
If you have a big map, you likely only work on a small area of it most of the time. You can store a viewport using the button in the bottom right to quickly return to a specific area and zoom level.

This is like setting a checkpoint on the map. You can then return to the same area and zoom level using the Return button: